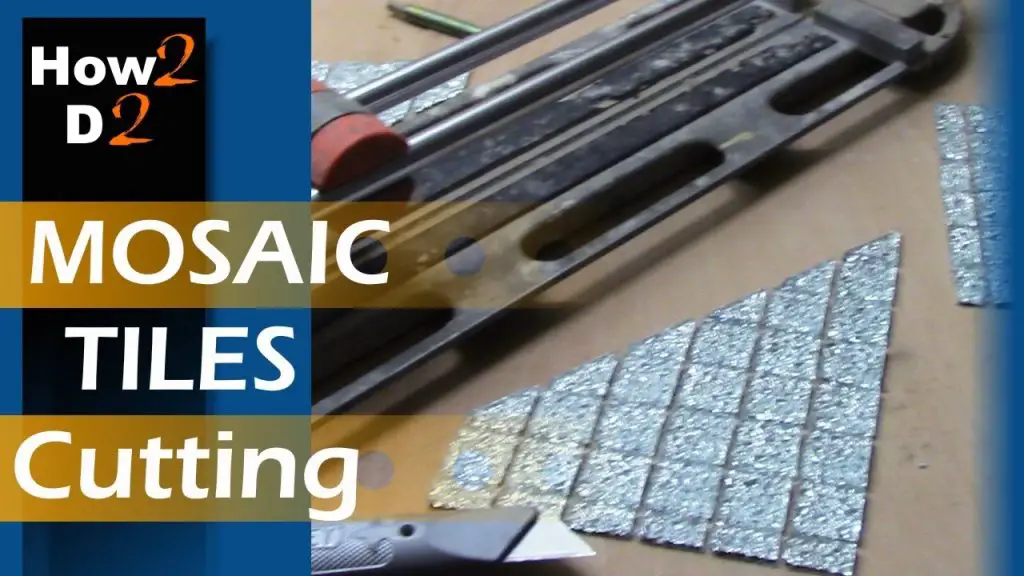
How to cut Mosaic Tiles with Mesh Backing? Mosaic tiles are a beautiful addition to any home, but they can be tricky to work with. The mesh backing on mosaic tiles makes them difficult to cut without damaging the tile or the mesh. However, there are a few ways you can safely and easily cut mosaic tiles with mesh backing.
The first method is to use a pair of sharp scissors. Place the mosaic tile on a cutting board or another stable surface. Cut along the edge of the tile where you want it to be cut, being careful not to damage the mesh.
Another method is to use a utility knife. Again, place the mosaic tile on a cutting board or another stable surface. Score along the edge of the tile where you want it to be cut with the utility knife.
Be sure not to score too deeply, as you don’t want to damage the mesh backing. Once you’ve scored all around the edge of the tile, carefully snap it along those scored lines. Either of these methods will allow you to safely and easily cut mosaic tiles with mesh backing.
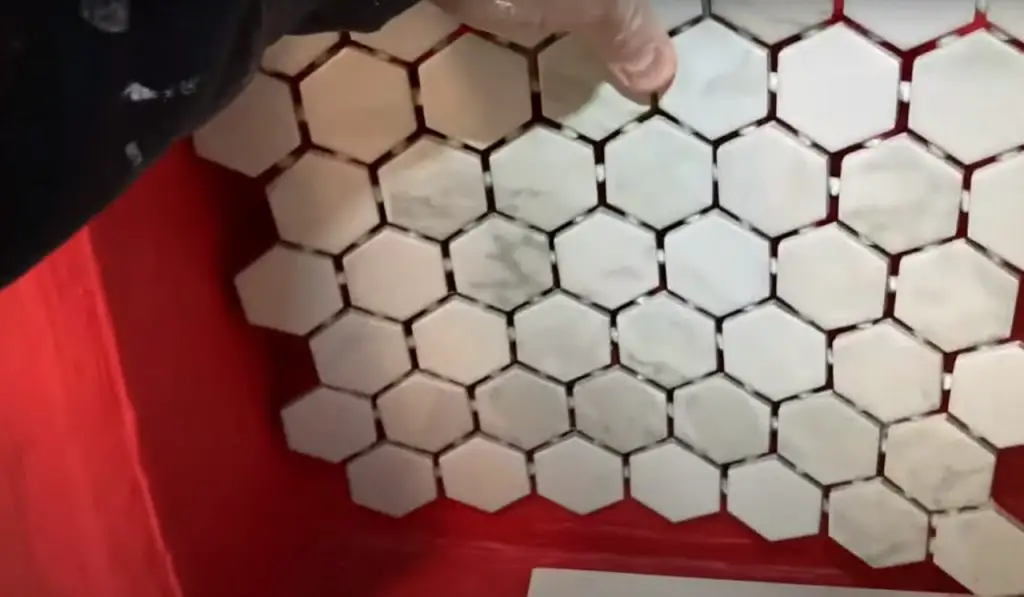
- Lay the mosaic tile sheet face up on a firm surface
- Use a sharp utility knife to score along the grout lines of the tile
- Place the blade of the utility knife at a 45-degree angle and apply pressure to score the glaze on top of the tile
- Turn the tile over so that the mesh backing is facing up
- 5 Cut along the scored lines with wire cutters, following the contour of the scoring
- 6 Apply even pressure when cutting to avoid breaking or chipping the tiles
How To Cut Mosaic Tiles With Mesh Backing? Few Easy Steps
If you’re working with tile mesh, there are a few things you need to keep in mind when it comes to cutting it. First, always use a sharp knife or cutter when cutting tile mesh – this will help prevent jagged edges. Second, be sure to score the tile mesh along the line you want to cut before actually cutting it; this will help ensure a straighter cut.
Finally, when cutting tile mesh, be sure to support the piece you’re cutting so that it doesn’t crack or break. Now that you know the basics of how to cut tile mesh, let’s get into some specifics. If you’re using a knife or cutter to cut your tile mesh, start by scoring the line you want to cut with light pressure.
Once you’ve scored the line, apply more pressure and run your knife or cutter along the line until you’ve cut through the entire piece of mesh. If you’re using a power tool to cut your tile mesh (such as a saw), make sure that the blade is sharp and set at the correct depth before beginning. When cutting with a power tool, always go slowly and carefully – rushing could result in an uneven or jagged cut.
Whether you’re using a knife or power tool, be extra careful not to damage any of the tiles surrounding the piece of mesh you’re cutting. With these tips in mind, Cutting tile meshes should be a breeze!
How Do You Install Mosaic Tiles With Mesh Backing?
Assuming you are starting with a flat and level surface, like a countertop:
1) Begin by spreading out thin-set mortar with a notched trowel. You’ll want to apply pressure as you go to ensure an even layer.
2) Next, take your mesh-backed mosaic tiles and lay them down in the desired pattern. Make sure to press each tile firmly into the thin-set so there is a good contact.
3) Once all of the tiles are in place, use a utility knife to cut through the mesh around the perimeter of the project area.
4) To grout your new mosaic, mix up some grout according to the manufacturer’s instructions and spread it over the tiles with a rubber float held at about a 45-degree angle. Be sure to work it into all of the joints between tiles.
5) After allowing the grout to set for about 15 minutes, use a damp sponge to wipe away any excess that may be on the surface of the tiles themselves. Allow everything to cure according to the manufacturer’s instructions before using or cleaning (usually 24-48 hours).
What Do You Cut Mosaic Tiles With?
Mosaic tiles are a beautiful and unique way to add interest to any room, but they can be tricky to work with. The most important thing to remember when cutting mosaic tiles is to use the right tools. For smaller cuts, a nipper is the best tool.
You can find these at any hardware store or online. They look like small pliers and have jaws that come to a point. To use them, simply line up the jaws on the tile where you want to make your cut and squeeze the handles together.
The tile will snap cleanly along the line you’ve created. For larger cuts, or if you want a smoother edge, you’ll need a wet saw. These can be rented from most hardware stores or home improvement centers.
Wet saws use a diamond blade to cut through tile, so they produce very clean smooth edges. Just be sure to wear eye protection and follow all safety instructions when using one of these powerful tools. With the right tools and some practice, cutting mosaic tiles is easy!
How Do You Use Mesh for Mosaics?
Mosaics are traditionally made by cutting small pieces of tile or glass and then assembling them into patterns. However, mosaic artists often use mesh as an alternative to traditional methods.
Mesh is a material that consists of many small holes.
It can be made from metal, plastic, or even fabric. The holes in the mesh allow the artist to see through to the surface below, making it easy to align the pieces of tile or glass.
Once the design is complete, the mesh can be attached to a backing board using adhesive or nails.
The tiles or glass pieces will stay in place thanks to the small holes in the mesh.
If you’re interested in creating mosaics using mesh, you’ll find that it’s a quick and easy way to get started. Plus, it’s a great way to add your own personal touch to any space!
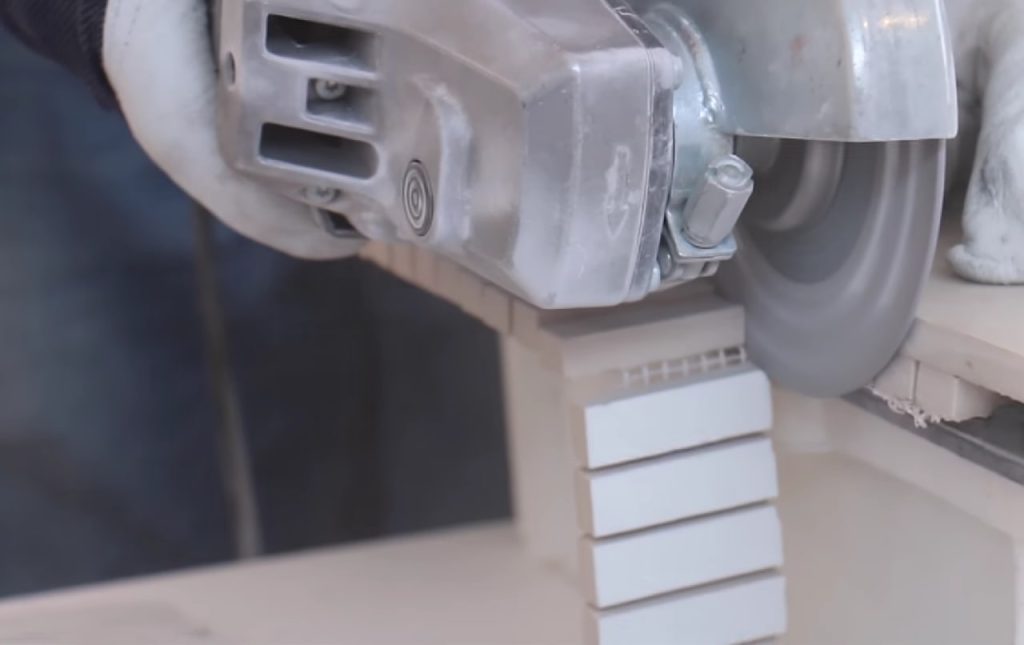
Cutting small mosaic tile with mesh backing using STL diamond cup wheel
How to Install Mosaic Tiles With Mesh Backing
Mosaic tiles are a beautiful way to add color and pattern to any room in your home. They’re also relatively easy to install, especially if you use mosaic tile sheets with mesh backing. Here’s a step-by-step guide to installing mosaic tiles using mesh backing:
1. Start by planning your design. It’s important to map out where each tile will go before you start adhesive application or grouting. This will help ensure a professional-looking finish.
2. Cut the mesh backing on the first sheet of mosaic tiles using scissors or a utility knife. Make sure all cuts are straight so the edges line up properly when installed.
3. Apply an even layer of tile adhesive to the back of the first sheet of mosaic tiles using a notched trowel (the size of the notches will depend on the manufacturer’s instructions). Be careful not to spread too much adhesive, as this can cause it to ooze out from under the tiles and create a messy look.
4. Press the sheet of mosaic tiles into place on your surface, starting at one corner and working your way across until the entire sheet is adhered. Use a leveler tool or your hands to gently press down on each individual tile so it makes good contact with the adhesive below.
Repeat this process for each subsequent sheet of mosaic tiles until your design is complete!
Mesh Backing for Mosaic Tiles
Mosaic tiles are a popular choice for backsplashes, floors, and walls. They come in a variety of colors, shapes, and sizes, making them versatile enough to be used in many design applications. While mosaic tiles are typically made of ceramic or glass, they can also be made of stone, metal, or even recycled materials.
One thing that all mosaic tiles have in common is the need for mesh backing. A mesh backing helps hold the individual mosaic tiles together and provides support during installation. It also makes it easier to cut the tiles to fit your space.
Most mosaic tile sheets come with a peel-and-stick adhesive backing that makes installation quick and easy. Simply peel off the paper backing and stick the sheet onto your wall or floor. Once the adhesive sets, you can grout the joints between the tiles for a finished look.
If you’re looking for a unique backsplash or flooring option, consider using mosaic tiles. With so many color and material options available, you’re sure to find a style that suits your taste. And with a mesh backing, installation is simple and straightforward.
How to Cut Mosaic Tiles into Shapes
Mosaic tiles are a beautiful way to add detail and interest to any tiling project. However, sometimes you may want to create a more intricate design than what is available in pre-cut mosaic tile sheets. In this case, you will need to cut the mosaic tiles into shapes yourself.
The most important thing to remember when cutting mosaic tiles is to use a sharp blade. A dull blade will not only make the cutting more difficult, but it can also cause the tiles to crack or chip. To avoid this, make sure to use a fresh blade or have your old one professionally sharpened before beginning your project.
There are two main ways to cut mosaic tiles: wet sawing and nipping. Wet sawing is the preferred method for cutting straight lines or large pieces, as it helps to prevent the blades from overheating and damaging the tile. Nipping is best used for small cuts or curved lines, as it gives you more control over the shape of the cut.
Whichever method you choose, always start by making a light pencil mark on the tile where you want to make your cut. This will help ensure that your cuts are straight and even. For wet sawing, set up your saw according to the manufacturer’s instructions and then slowly lower the blade into place on your mark.
Gently push the tile through the blade, letting the weight of the saw do most of the work for you.
For nipping, hold the tile in one hand and position the nippers so that they just barely touch both sides of your pencil line. Squeeze the handles together with even pressure until they snap through the tile.
If necessary, clean up any rough edges with a handheld file or sandpaper before grouting your new mosaic design!
How to Cut Mosaic Tile Without a Wet Saw
If you’re looking to do a mosaic tile project but don’t have a wet saw, fret not! There are ways to cut these tiles without one. Here are a few methods:
Use a nipper
This is probably the easiest way to cut mosaic tiles without a wet saw. All you need is a good pair of nippers (also called tile nippers) and some patience. Start by scoring the tile with the nippers, then slowly apply pressure until the tile snaps in two. You may need to make several scores before snapping the tile so that it breaks cleanly.
Use a utility knife or box cutter.
If you don’t have nippers, another option is to use a utility knife or box cutter. Score the surface of the tile with the blade, then carefully snap it in two along your score line. Again, you may need to make several scores before breaking the tile cleanly. Just be careful not to slip and cut yourself!
Use a glass cutter.
If you happen to have a glass cutter lying around, you can actually use that to cut mosaic tiles! Just score the surface of the tile with the glass cutter, then snap it in two along your score line. As with the other methods, you may need to make several scores before breaking the tile cleanly.
Use diamond-tipped blades.
For this method, you’ll need either a rotary tool with diamond-tipped blades or else diamond-tipped handheld cutting tools. Just score the surface of your mosaic tile and then slowly start cutting through it with your diamond-tipped blade. Be very careful not to slip and cut yourself! Hopefully one of these methods works for you and Happy Cutting!
How to Cut Mosaic Tile by Hand
If you’re planning on adding mosaic tile to your home as part of a renovation or design project, you may be wondering how to cut mosaic tile by hand. While it’s possible to purchase a power tool that can help with this task, it’s not always necessary. With a little patience and the right technique, you can achieve professional-looking results without any extra equipment.
Here are a few tips on how to cut mosaic tile by hand:
1. Use a sharp utility knife or X-Acto blade. A dull blade will make it more difficult to get clean, straight cuts.
2. Place the tile on a cutting board or another stable surface before beginning to cut. This will give you more control and prevent the tile from slipping while you’re working.
3. Score the surface of the tile where you want to make your cut using light pressure. You should only need to go over this line one or two times for it to be effective.
4. Apply slightly more pressure and run your blade along the scored line again to deepen the groove and begin cutting through the tile. Continue applying even pressure until the entire piece has been cut through.
How to Cut Mosaic Tile With Nippers
If you’re looking to add a little bit of detail and pizzazz to your home décor, mosaic tile is a great option. Mosaic tile is made up of small individual tiles that can be arranged in any pattern you like. While this type of tile can add a lot of interest to a room, it can also be tricky to work with.
Cutting mosaic tiles can be difficult because the small pieces can break easily. But with the right tools and techniques, it’s definitely doable! Here’s how to cut mosaic tile with nippers:
First, gather your materials. You’ll need a pair of nippers (also called mosaic pliers), some safety goggles, and gloves. It’s also helpful to have a wet rag on hand to clean up any broken pieces of tile.
Next, put on your safety gear. The last thing you want is for a piece of flying tile to hit you in the eye! Now it’s time to start nipping away at the tile.
Begin by finding the edge of the tile that you want to cut. Place the jaws of the nippers on either side of this edge, then squeeze firmly until the jaws meet in the middle. Keep squeezing until the whole piece breaks off.
Repeat this process until all of your pieces are cut. If there are any sharp edges left on your newly cut tiles, use a file or sandpaper to smooth them down so they’re not dangerous. And that’s it!
Now you know how to cut mosaic tiles like a pro!
Mosaic Tiling Tips And Tricks
Mosaic tiles are a great way to add visual interest and personality to any space. But if you’ve never worked with them before, the prospect of creating a mosaic can be daunting. Here are some tips and tricks to help you get started on your next mosaic project.
Choose the Right Tile
Mosaic tiles come in a variety of materials, including glass, ceramic, stone, and metal. Each type of tile has its own strengths and weaknesses, so it’s important to choose the right tile for your project.
For example, glass tiles are very fragile and difficult to cut, so they’re not ideal for beginners. Ceramic or stone tiles are a better option for first-time mosaicists.
Cut The Tiles Properly
One of the most challenging aspects of the mosaic tiling is cutting the pieces to fit together perfectly. It’s important to use a sharp knife or nipper tool when cutting mosaic tiles – dull blades will chip the edges of the tile and make it more difficult to create a smooth surface. When cutting curved pieces, it’s best to “score” the tile first with a scoring tool before making your final cuts with a nipper or knife.
Adhere to the tiles Properly
The key to getting your mosaic tiles to stay put is using the right adhesive. For most projects, thin-set mortar is the best option. Be sure to follow the manufacturer‘s instructions carefully when mixing and applying thin-set , as this will ensure that your mosaic lasts for years to come.
Grout The Mosaic
Once all of your tiles are in place, it‘s time to grout! This step helps fill in any gaps between tiles and gives y our mosaic c a polished look. Again, be sure to follow the manufacturer‘s instructions when mixing y our grout, as this will ensure that it adheres properly a does ‘t damage your tiles .
Conclusion
If you’re working with mosaic tiles that have a mesh backing, you’ll need to take a few extra steps to ensure that your cuts are clean and precise. Here’s what you need to know about cutting mosaic tiles with mesh backing:
First, use a sharp utility knife to score the tile along the line where you want to make your cut.
Next, use a pair of pliers to snap the tile along the scored line. Finally, use a wet saw or nipper tool to trim away any rough edges.
With these tips in mind, cutting mosaic tiles with mesh backing is easy and will help you achieve professional-looking results.

I’m John Carry, also known as a woodworker I have been a professional saw expert for over 10 years. I’d work with every type of saw machine out there, and experiment to find which tools work better.
I’m always looking for ways to improve my skills and help those around me. I love my job and am always happy to share my knowledge with others.