How To Cut Door Hinges With A Drill? Whenever you need to remove a door, the first step is always going to be removing the door hinges. And while you could do this by hand, it’s actually much easier to use a drill. With the right attachment, you can quickly remove all of the screws from the hinge, making door removal a breeze.
- Using a drill, make a hole in the door hinge
- Make sure the drill is at a 90-degree angle to the door hinge
- Drill through the first part of the door hinge
- Stop drilling when you reach the end of the first part of the door hinge
- Remove the drill bit from the door hinge
- Cut through the second part of the door hinge with a Sawzall or other type of saw
How to cut door hinge like a pro – DIY
How Do You Cut Out Hinges for a Door?
Installing a door in your home is a great way to add privacy and security, and one of the most important parts of installing a door is getting the hinges right. Hinges allow the door to open and close smoothly, and they also help to keep the door in place so it doesn’t swing open or close on its own. There are a few different types of hinges that you can use for your door, but the most common type is the butt hinge.
Butt hinges come in all sorts of sizes and styles, but they all work in basically the same way. To install a butt hinge, you’ll need to first mark out where the hinge will go on both the door and the frame. Once you have those marks made, you can then use a saw to cut out notches for the hinge leaves.
Once those notches are cut out, you can then put the hinge leaves into place and screw them into position. It’s important to make sure that you get the screws tight so that there’s no play in the hinge – if there is play, your doors may not close properly or they may feel loose when you try to close them. With everything tightened up, your new hinges should be ready to go!
How Do You Drill Holes in Cupboard Door Hinges?
If you’re looking to add some new hardware to your cupboard doors, or simply want to change out the old for something fresh, you’ll need to know how to drill holes in cupboard door hinges. It’s not as difficult as it might sound, and with a few simple steps, you’ll be able to get the job done quickly and easily. First, you’ll need to gather your materials.
Power Drill holes in Cupboard Door Hinges
You’ll need a power drill, some drill bits (both regular and spade), a screwdriver, and of course, your new hinges. Once you have everything gathered, take a moment to double-check that the hinges will fit the door; they should be slightly smaller than the width of the door so that they can be recessed into it. Now it’s time to start drilling.
If your hinge has two screws, start with the top one. Place the tip of your drill bit on the mark where you want the hole drilled, and slowly begin drilling into the wood. Apply even pressure as you go; if the bit starts to slip or wander off course, stop immediately and reposition it.
Once you’ve drilled through one side of the hinge completely, move on to drilling through from the other side until both sides are connected by a hole. If your hinge only has one screw, simply start drilling from whichever side is most convenient for you. Once all of your holes are drilled, it’s time to start attaching your new hinges!
Begin by holding each hinge in place against its respective door leaf; use your screwdriver (or power drill) to drive each screw in until it is flush with or slightly below the surface of the wood. Be careful, not over-tighten these screws; just make sure that each one is snug so that there is no movement between the hinge and the door leaf when opening and closing them. And that’s all there is to it!
Do I Need to Cut Out the Door for Hinges?
If you’re installing a new door or replacing an old one, you’ll need to cut out the door for hinges. The size of the door will determine the size of the hole you need to cut. Use a handsaw or jigsaw to make the cuts.
If using a jigsaw, clamp the workpiece so it doesn’t move while you’re cutting. First, mark the location of the hinge on the door with a pencil. Then, use a drill to create pilot holes for your saw blade.
This will help prevent the wood from splitting when you make your cuts. Next, cut out the door for hinges using your saw. Make sure to make your cuts straight and clean so that your door fits properly in its frame.
Once you’ve made your cuts, remove any rough edges with sandpaper before installing your door hinges.
How Do You Mortise a Door Hinge With a Drill?
When it comes to hanging doors, the most important part is getting the hinges mortised correctly. If the hinge isn’t mortised properly, the door will eventually start to sag and won’t close properly. The first step is to mark out where the hinge will go.
You’ll want to use a sharp pencil so that your lines are visible and accurate. Once you have your lines marked, you’ll need to drill pilot holes for your screws. Be sure to use a drill bit that is slightly smaller than your screws so that they fit snugly.
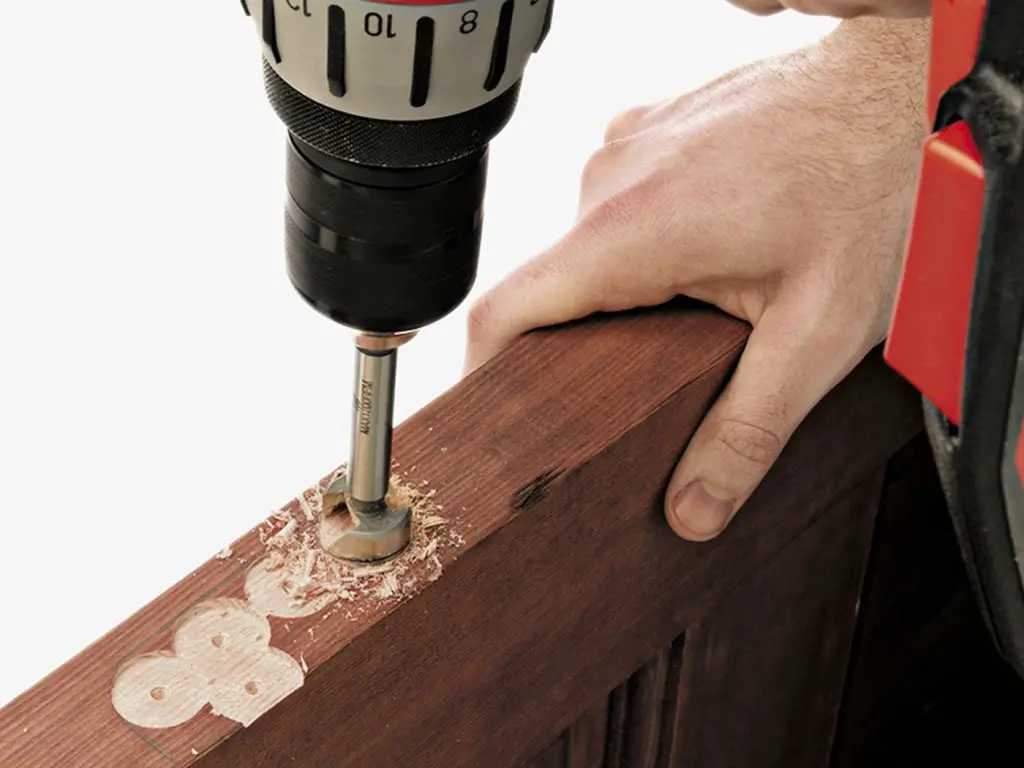
Now it’s time to start mortising the door hinge. A power drill with a carbide-tipped bit works best for this job. You’ll want to start by drilling a hole at each corner of your marked rectangle.
Then, working from both sides of the door, slowly move the drill toward the center of the rectangle, making sure not to go all the way through. Once you’ve finished drilling, it’s time to clean up any rough edges with a chisel. Start by holding the chisel perpendicular to the door and chopping out any large chunks of wood.
Then turn the chisel on its side and smooth out the edges until they’re flush with the rest of the door surface. Now all that’s left is to install your hinges!

Credit: www.youtube.com
How to Cut Door Hinges Without a Router
If you’re planning on cutting door hinges without a router, there are a few things you’ll need to keep in mind. First, you’ll need to use a sharp blade – dull blades can cause the hinge to slip and result in an uneven cut. Second, take your time and make sure each cut is straight and clean – rushed cuts will be more likely to result in errors.
Finally, use a guide (such as a piece of scrap wood) to help ensure that your cuts are all the same depth – this will give your door a professional-looking finish. With these tips in mind, let’s get started! To begin, mark out where you’ll be making your cuts with a pencil.
Then, using your sharp blade, carefully make straight cuts along the lines you’ve drawn. Once all of the cuts are complete, remove the excess material from around the hinge using a chisel or another sharp tool. And that’s it!
With just a few simple steps, you can easily cut door hinges without needing a router. Just remember to take your time and work carefully for the best results.
How to Cut Out Hinges on Door Frame
If you’re planning on replacing your door hinges, you’ll need to first remove the old ones. This can be a tricky process, especially if the hinges are set deep into the door frame. But with a little patience and the right tools, you should be able to get the job done relatively easily.
Here’s what you’ll need:
-A screwdriver
-A hammer -A chisel (optional)
-Patience!
First, use your screwdriver to remove any screws that are holding the hinge in place. If there are no screws, or if they’re stripped and won’t come out, you may need to use a chisel to pry them loose.
Be careful not to damage the surrounding wood as you do this.
Once all of the screws are removed, gently tap on the hinge with your hammer until it pops free from the doorframe. You may need to wiggle it back and forth a bit before it comes loose.
Repeat this process for each hinge until all of them have been removed.
How to Cut Door Hinges With a Dremel
If you’re looking to cut door hinges with a Dremel, there are a few things you need to keep in mind. First, make sure you have the right Dremel bit for the job. Second, mark out where you need to make your cuts before getting started.
And finally, take your time and go slowly to ensure a clean cut. Here’s a step-by-step guide on how to cut door hinges with a Dremel:
1. Mark out where you need to make your cuts on the hinge. You can use a pencil or marker for this.
2. Choose the right Dremel bit for the job. A metal cutting wheel will work best for this task.
3. Attach the Dremel bit to your tool and get started making your cuts. Go slowly and be careful not to overdo it – you don’t want to damage the door hinge!
4. Once all of your cuts are made, remove any excess material with a file or sandpaper if necessary.
Conclusion
If you’re looking to install or replace door hinges, you can use a drill to make the job easier. First, mark the location of the hinge on the door using a pencil. Next, use a drill bit that is slightly smaller than the screws for the hinge to make pilot holes.
Once the pilot holes are drilled, remove any debris from them and insert the screws for the hinge. Use your drill to tighten these screws until their snug. If you’re having trouble getting the screws started, try using a screwdriver in conjunction with your drill.

I’m John Carry, also known as a woodworker I have been a professional saw expert for over 10 years. I’d work with every type of saw machine out there, and experiment to find which tools work better.
I’m always looking for ways to improve my skills and help those around me. I love my job and am always happy to share my knowledge with others.