How To Cut Penny Tile With A Wet Saw? Penny tile is a beautiful and unique way to add style to your home. If you’re thinking about using penny tile in your next project, you may be wondering how to cut it. While it’s possible to cut penny tile with a wet saw, a wet saw is the best tool for the job.
Here’s a step-by-step guide on how to cut penny tile with a wet saw.
- Gather your materials
- You will need a wet saw, a tile cutter, a straight edge, and a pencil
- Mark your cutting line on the tile with the pencil
- Set up your wet saw according to the manufacturer’s instructions
- Cut along the marked line with the wet saw, following the manufacturer’s guidelines for safety and proper use of the tool
- Repeat steps 2-4 until all of the tiles are cut to size
Can You Use a Tile Cutter for Penny Tile?
If you’re looking to add a unique, stylish touch to your home, penny tile is a great option. And while you can certainly use a tile cutter to make the cuts for your penny tile installation, there are a few things you’ll need to keep in mind. First and foremost, penny tiles are much smaller than standard tiles, so you’ll need to be extra careful when making your cuts.
It’s also important to note that because of their small size, it’s best to use a wet saw for cutting penny tiles. This will help prevent the tiles from cracking or breaking during the cutting process. When it comes time to actually install your penny tile, there are a few things to keep in mind as well.
First, be sure to use an adhesive specifically designed for glass or mosaic tiles. And second, take your time when grouting – avoid using too much pressure or force, as this can damage the delicate tiles. With just a little care and attention, you can successfully install Penny Tile in your home – and create a beautiful space in the process!
How Do You Cut a Small Tile With a Wet Saw?
If you need to cut a small tile with a wet saw, there are a few things you need to keep in mind. First, make sure that the tile is properly positioned on the cutting platform. Second, use a guide or straight edge to help ensure that your cuts are precise.
Finally, take your time and be careful not to apply too much pressure when cutting the tile.
Should You Stagger Penny Tile?
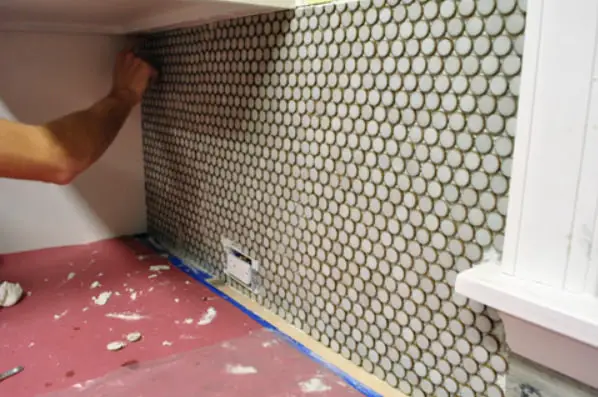
Penny tile is a type of small, round tile that is typically used in bathrooms and kitchens. They are available in a variety of colors, but the most popular are white and black. While penny tiles can be installed in a straight line, many people choose to stagger them for a more interesting look.
There are two main reasons to stagger penny tile. First, it can add visual interest to an otherwise plain wall or backsplash. Secondly, it can help hide any imperfections in the tiles or grout lines.
If you’re considering staggering your penny tile, here are a few things to keep in mind:
The size of your tiles will dictate how far apart they need to be staggered. For example, if you’re using 3/4″ tiles, they should be staggered by at least 1/4″.
It’s important to make sure that the joints between the tiles are evenly spaced. Otherwise, your pattern will look off-kilter.
If you’re using Penny Tile as part of a backsplash, it’s best to install it before adding any other materials (like cabinets or countertops).
This will make it easier to create an even surface.
How Do You Grout a Penny Tile?
If you’re looking to add a touch of elegance to your home, penny tile is a great option. The Penny tile is a small, round tile that gets its name from its resemblance to an old-fashioned penny. While it’s often used on floors, it can also be used on walls and backsplashes.
Penny tile can be made from a variety of materials, including ceramic, glass, and stone. When it comes to grouting penny tile, there are a few things to keep in mind. First, you’ll want to choose a grout color that contrasts well with the color of your tile.
This will help make the individual tiles stand out and give the overall design more visual interest. Second, because penny tiles are so small, you’ll need to use a very fine-tipped grout float or applicator bottle to avoid leaving behind any unsightly air bubbles or lines. Finally, be sure to wipe away any excess grout from the surface of the tiles before it dries; otherwise, you may have difficulty removing it later on.
How to cut penny tile with a wet saw
How to Finish Edge of Penny Tile
For many people, installing penny tile is a fun and easy way to add some flair to their home. However, when it comes to the edge of the tile, things can get a bit trickier. Here are some tips on how to finish the edge of your penny tile installation:
1. Use a pencil or other sharp object to mark where you want your tiles to end. This will help ensure that your cuts are straight and even.
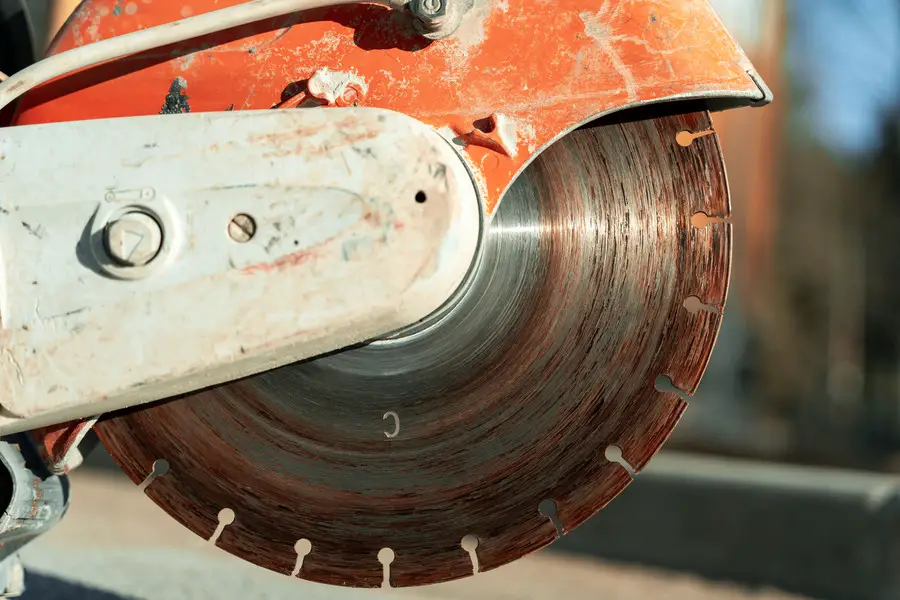
2. Use a wet saw with a diamond blade to cut the tiles.
Be sure to wear protective gear, such as gloves and eye protection, when using power tools.
3. Install bullnose trim or another type of edge trimming along the perimeter of your installation. This will give it a professional-looking finish and protect the edges of your tiles from chipping or breaking.
How to Cut Penny Tile around Drain
Penny tile is a beautiful and unique way to finish off a bathroom or kitchen backsplash. But what do you do when you need to cut penny tile around a drain? Here are some easy steps to follow:
1. First, use a wet saw with a diamond blade to score the tile where you need to make your cut.
2. Next, place the tile on a cutting board and use a sharp utility knife to finish cutting through the tile.
3. Finally, use sandpaper or a file to smooth out any rough edges on your newly cut penny tile.
Penny Tile Too Much Grout
Penny Tile Too Much Grout When it comes to mosaic tile, there are all sorts of design options to choose from. But one type of tile that has become increasingly popular is the penny tile.
A Penny tile is a small, round mosaic tile that gets its name from its resemblance to a penny. While penny tiles can add a lot of visual interest to a space, they can also be tricky to work with. One common issue is that because they’re so small, it can be difficult to get the grout lines even.
And if you have too much grout between the tiles, it can make the space look cluttered and busy. If you’re considering using penny tiles in your next project, here are a few tips to keep in mind:
Use a smaller grout joint
A good rule of thumb is 1/8″ or less. This will help ensure that the grout lines are as thin as possible and won’t overwhelm the space.
Use unsanded grout
Sanded grout is typically used for larger joints, but because penny tiles are so small, unsanded grout will actually work better. It’s also less likely to crack or chip over time since there’s less surface area for it to adhere to.
Best Tile Nippers for Penny Tile
If you’re looking for the best tile nippers for penny tile, look no further than ABC Tile Nippers! Our top-of-the-line nippers are specifically designed to handle the unique shape and size of penny tiles.
For starters, our nippers feature precision jaws that can grip even the smallest tiles without slipping.
This ensures a clean, precise cut every time. Plus, our comfortable ergonomic handles make it easy to apply just the right amount of pressure while cutting.
Best of all, ABC Tile Nippers are built to last.
We use only the highest quality materials in our nippers, so you can be confident they’ll stand up to years of heavy use.
If you’re looking for the best possible results when working with penny tile, choose ABC Tile Nippers!
How to Cut Marble Penny Tile
Marble penny tile is a great way to add a touch of luxury to your home. It’s also a relatively easy tile to cut, making it a great option for do-it-yourselfers. Here’s how to cut marble penny tile:
1. Use a sharp utility knife or scoring tool to score the surface of the tile where you want to make your cut. Score the tile several times until you’ve made a deep groove in the surface.
2. Place the tile on a cutting board or another stable surface. Apply pressure to the scored line with your thumb and run the blade of your utility knife along the line to make your cut.
3. If necessary, use a wet saw equipped with a diamond blade to make clean, straight cuts through thicker tiles.
How to Cut Ceramic Penny Tile
If you’re looking for a fun and unique way to update your home, then look no further than ceramic penny tile! This type of tile is perfect for adding a bit of personality to any space, and it’s also surprisingly easy to install. Here’s a step-by-step guide on how to cut ceramic penny tile so you can get started on your next project:
1. Start by measuring the area where you’ll be installing the tile. This will help you determine how many tiles you’ll need to purchase.
2. Once you have your measurements, it’s time to start cutting the tiles. Use a sharp utility knife or wet saw to make clean cuts through the tile. If using a wet saw, be sure to wear eye protection and gloves.
3. To create the signature “penny” shape, simply use a circular template (such as a coin) and trace it onto each tile. Then, use your utility knife or wet saw to cut out the circle.
4. Once all of your tiles are cut, it’s time to install them! Begin by spreading some adhesive onto the back of each tile with a notched trowel.
Then, press the tiles into place and wait for the adhesive to dry according to the manufacturer’s instructions. Finally, the grout between each tile using either matching or contrasting grout depending on your personal preference.
Conclusion
Penny tile is a type of mosaic tile that is often used on floors and walls. It is made from small, round pieces of ceramic or glass that are arranged in a pattern. Penny tile can be cut with a wet saw, which is a powerful tool that uses water to cool the blade and prevent the tile from breaking.
To cut penny tile with a wet saw, you will need to use a diamond blade. The blade should be lubricated with water before it comes into contact with the tile. When cutting, make sure to keep the blade perpendicular to the surface of the tile.
Start the cut at the edge of the tile and slowly move the blade through it. After each cut, wipe off any debris from the blade so that it does not build up and cause damage to the wet saw.

I’m John Carry, also known as a woodworker I have been a professional saw expert for over 10 years. I’d work with every type of saw machine out there, and experiment to find which tools work better.
I’m always looking for ways to improve my skills and help those around me. I love my job and am always happy to share my knowledge with others.