How Do You Cut Angles On Ceramic Tile? If you’re looking to add a touch of elegance to your home, cutting angles on ceramic tile is a great way to do it. But if you’ve never done it before, the prospect of doing so can be daunting. Don’t worry – we’re here to help you to learn how do you cut angles on ceramic tile.
How Do You Cut Angles on Ceramic Tile Perfectly?
The first thing you need to do is measure the area where you’ll be installing the tile. Once you have those measurements, mark out the angle that you want to cut on the tile itself. Then, using a wet saw or a handheld tile cutter, make your cuts.
Once your cuts are made, all that’s left to do is install the tile according to your chosen design. And that’s it! With just a little bit of effort, you can add instant sophistication to any room in your house.
How Do You Calculate Angle for Tiling?
There are a few different ways that you can go about calculating angles for tiling.
The first method is to use a level. Simply place your level against the surface that you are going to be tiling and make a mark at the top and bottom of the level.
For example, if your tile width is 10 inches (25 cm), then your angle would be 10 ÷ 2 = 5 degrees.
Another way to calculate the angle for tiling is to use a protractor or an angled ruler. Place your protractor or ruler on the surface that you are going to be tiling and align it so that one edge is parallel with the edge of the surface.
Then, simply measure the angle between these two edges using your protractor or ruler. This measurement is equal to the angle of your tiles!
As you can see, there are a few different ways that you can go about calculating angles for tiling. Whichever method you choose, just be sure to measure carefully and accurately in order to get precise results.
How to Measure Angle Tile Cuts?
One of the most important things to get right is the angle of your cuts. After all, even a small error can result in an unsightly gap or an uneven edge.
There are a few different ways to measure angle tile cuts, but perhaps the simplest is to use a digital angle finder. These devices are relatively inexpensive and easy to use. Just place them against the tile and they’ll give you a readout of the angle.
Another option is to use a protractor or other similar tool. This method requires a bit more care and accuracy, but it’s still perfectly feasible. Just be sure to line up the tool correctly before taking your measurement.
Finally, if you’re working with larger tiles, you may want to consider using a laser level. This will help ensure that your cuts are perfectly straight, even if your tiles aren’t entirely level themselves.
No matter which method you choose, taking careful measurements is essential for getting those perfect angle tile cuts!
How to Measure Tile Cuts Against Wall?
One of the most important things you need to do is make sure your cuts are accurate. Otherwise, your tile job will look sloppy and unfinished.
The good news is that measuring tile cuts against a wall is relatively easy to do, as long as you have a few basic tools.
First, you’ll need a tape measure and a level. Start by measuring the length of the wall where you’ll be installing the tile.
Then, use the level to mark out a straight line across the wall at that measurement. This will be your starting point for making your cuts.
Next, take your first tile and position it against the wall so that one end is touching the line you just created. Use the tape measure to measure the distance from the edge of the tile to the nearest wall stud. Mark this measurement on both ends of the tile.
Now, it’s time to make your cut. Using a wet saw or another type of tile cutter, make a cut along each of your marks.
If everything went well, your cut should be perfectly straight and fit snugly against the wall studs on either side.
With a little practice, measuring and cutting tiles will become second nature!
Tile Angle Measuring Tool
A tile angle measuring tool is an essential tool for any tile installer or professional. It is used to measure the angle of the tiles so that they can be installed correctly and level. There are many different types of tile angle measuring tools available on the market, but they all serve the same purpose.
The most important thing to consider when choosing a tile angle measuring tool is accuracy. You want a tool that will give you accurate measurements so that your tiles are installed correctly. There are many different brands and models of tile angle measuring tools available, so it is important to do your research before purchasing one.
Once you have chosen a tile angle measuring tool, it is important to learn how to use it properly. Many people make the mistake of thinking that they can just eyeball the angles and get close enough. However, this is not the case!
If you want your tiles to be installed correctly, you need to take precise measurements with your tile angle measuring tool.
How to Cut Angles on Tile?
While it may seem daunting, cutting angles on tile is actually pretty easy to do with the right tools and techniques.
Here’s a step-by-step guide on how to cut angles on the tile like a pro:
- Mark the angle you need to cut on the tile with a pencil. Use a ruler or level to make sure your line is straight.
- Place the tile onto a cutting board or other stable surfaces. Make sure you have plenty of space to work and the surface is protected from scratches.
- Score the line you marked on the tile with a scoring tool. You can use a utility knife for this, but we recommend using a scoring wheel designed for cutting tile. This will give you a cleaner, more precise score line.
- Break the tile along the score line by pressing down evenly with both hands until it snaps in two pieces. If necessary, use a sharp chisel to clean up any rough edges along the break line.
How to Cut Tile at 45-Degree Angle?
If you need to make cuts at a 45-degree angle, you can use a few different methods.
Here’s a step-by-step guide on how to cut tile at a 45-degree angle using three different tools:
- A Scoring Tool
- Wet saw
- Tile Nippers
A Scoring Tool
With a scoring tool, start by drawing a line on the tile where you need to make the cut. Place the blade of the scoring tool against the tile and apply pressure to score the surface. You’ll want to Score several times along the line so that the tile will break cleanly when you snap it.
To snap the tile, place your hands on either side of the scored line and apply pressure until the tile snaps in half. If necessary, use a file or sandpaper to smooth any rough edges on the broken edge of the tile.
Wet Saw
A wet saw is another option for cutting tiles at 45-degree angles. With this method, you’ll need to first mark your cutline with a pencil or tape.
Then, position the blade of your wet saw so that it’s at a 45-degree angle before turning it on and slowly lowering it into contact with the surface of your tile.
Gently guide the wet saw along your cutline as it slices through the tile. Be sure to wear eye protection when using a wet saw as flying debris can be dangerous.
When operating a wet saw, always keep your hands clear of moving parts and be sure to follow all safety precautions as outlined in your wet saw’s manual.
Tile Nippers
Tile nippers can also be used for making 45-degree angle cuts in tiles. However, this method is typically reserved for smaller pieces of ceramic or glass mosaic tiles since it can be difficult to get a precise cut otherwise and results in more rough edges than other methods.
How Do You Cut a 90-Degree Angle on Tile?
When it comes to tiling, getting those perfect 90-degree angles can be tricky. But with a little patience and the right tools, it’s definitely doable!
Here’s what you’ll need to cut a 90-degree angle on the tile:
- A Tile Cutter: This is probably the most important tool you’ll need. There are different types of tile cutters available, but for this project, we recommend using a manual tile cutter.
- A Straight Edge: This will help you get nice, clean cuts on your tiles. A ruler or a level will work just fine.
- A Pencil: You’ll need this to mark your tiles before cutting them.
- Protective Gloves: Tiles can be sharp, so it’s always a good idea to wear gloves when working with them.
How Do You Cut Angles on Ceramic Tile Smoothly?
Here’s how to cut your tiles:
- Measure the area where you’ll be placing the tile and mark out your cuts with a pencil on the back of the tile. It’s important to be precise here- even 1/8″ off can make a big difference in how your finished project looks!
- Place the straight edge along your marked line and score the front of the tile with the blade of your tile cutter. Score each line several times until you’ve made a deep groove in the surface of the tile.
- Now it’s time to actually make your cut! For manual tile cutters, this means aligning the blade over your scored line and then applying pressure to snap the tile along that line.
- Once you’ve made your initial cuts, go back and tidy up any rough edges with a file or sandpaper.
And that’s it! With these four simple steps, you can achieve professional-looking results when cutting 90-degree angles on tiles.
How to Cut Tiles Diagonally?
You may need to cut the tiles diagonally at some point. Here’s how to do it:
First, mark the tile where you need to make the cut. Use a pencil and a straightedge to draw a line across the tile.
Next, set the tile on a cutting board or another surface that will protect your countertop or table. Place the blade of your utility knife at the edge of the tile and score it along the line you drew. Apply firm pressure as you move the blade along the tile.
Once you’ve scored the tile, place it on a hard surface like a concrete patio or driveway and apply pressure to snap it in two along the scored line. If necessary, use pliers or clamps to help break the tile cleanly in half.
How to Cut Angles on Tile? (+Plus Tips)
Cutting Angles on Tile Saw
If you’re tiling a wall or floor, you’ll need to make sure the cuts on your tiles are precise. A tile saw is the best tool for making clean, accurate cuts on a tile. But if you’ve never used one before, it can be tricky to get the hang of it.
Here’s a step-by-step guide to cutting angles on a tile saw:
- Mark your cut line on the tile with a pencil or pen. Make sure the line is straight and level.
- Set up your tile saw according to the manufacturer’s instructions. This will usually involve attaching the blade and adjusting the fence(the guide that holds the tile in place during cutting).
- Place your tile on the saw table, aligning it with the blade. Slowly lower the blade into contact with the tile.
- Apply gentle pressure to push the tile through the blade. Keep your hands away from the blade while it’s in motion.
How Do You Cut a Slight Angle on a Tile Saw?
When it comes to cutting angles on a tile saw, there are a few things you need to take into consideration.
The first is the type of blade you’re using. A standard blade won’t be able to cut through tile as easily as a diamond blade.
You’ll also need to make sure you have a stable surface to work on and that your cuts are straight. Otherwise, your tiles will end up looking uneven and won’t fit together properly.
To start, mark the angle you want to cut onto the tile with a pencil or chalk. Then, set up your tile saw so that the blade is at the correct angle.
If you’re not sure how to do this, consult your saw’s manual or look online for guidance specific to your model.
With the blade in place, slowly lower it into the tile and begin cutting along your marked line. Apply even pressure throughout the cut so that the blade doesn’t wander off course.
Once you’ve finished cutting, use a wet sponge or cloth to wipe away any debris from the tile surface.
Now, your newly cut angle should be clean and ready to use.
How to Scribe Tiles?
When scribing tiles, there are a few things you need to keep in mind.
First, always use a sharp pencil or pen.
Second, make sure the tile is level before you start scribing.
Third, use a straightedge to help guide your pencil or pen along the tile.
Fourth, take your time and be precise.
And fifth, if needed, use masking tape to help hold the tile in place while you’re scribing it.
Now that you know the basics of how to scribe tiles, let’s go over a few tips on how to do it effectively.
First, when scribing tiles for a backsplash or countertop, always start in the middle and work your way out. This will ensure that your cuts are even and look symmetrical.
Second, when using a straightedge to guide your pencil or pen, make sure it’s firmly pressing against the tile so you get a clean line.
Third, take your time! Scribing tiles is not something that should be rushed – precision is key!
And finally, if you’re having trouble keeping the tile level while scribing it(which can happen if it’s slippery or curved), try using masking tape to temporarily adhere it in place.
Scribing tiles may seem like a daunting task at first glance, but following these simple tips will help you get beautiful results every time!
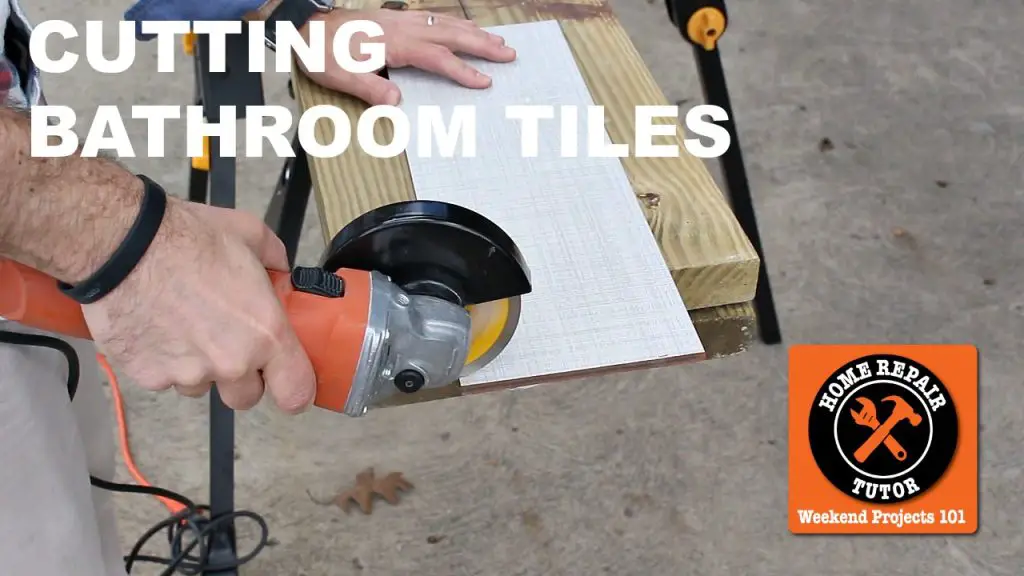
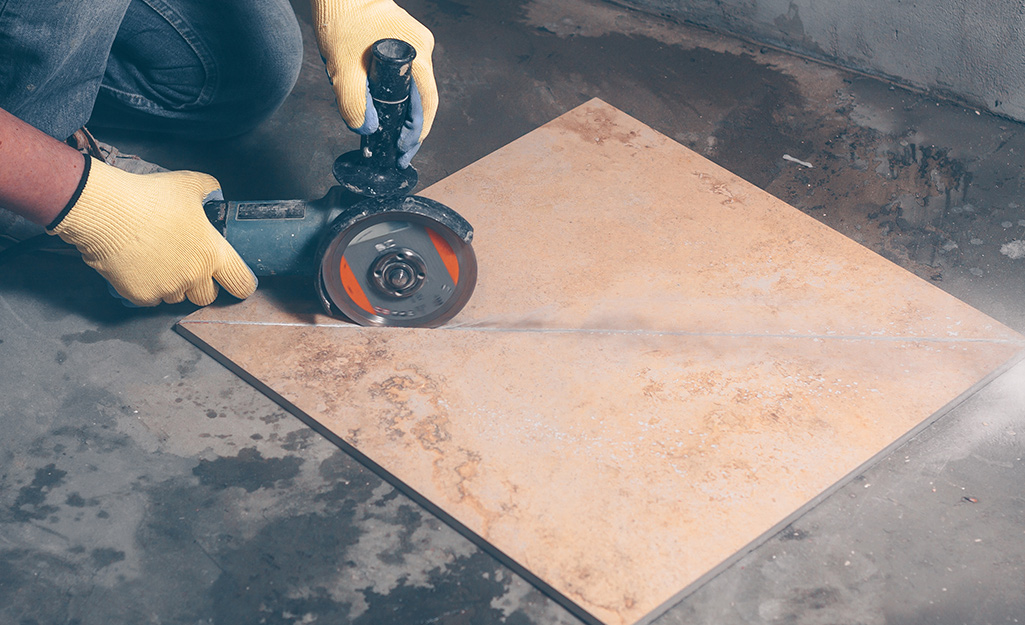
Can You Use an Angle Grinder on Tile?
An angle grinder is a powerful tool that can be used for a variety of different projects. When used properly, an angle grinder can quickly remove old tile so that new tile can be installed.
While you can use an angle grinder on tile, there are a few things that you need to keep in mind in order to avoid damaging the tile or injuring yourself.
First, always use a fresh, sharp blade when working with an angle grinder.
Second, take care not to apply too much pressure when grinding the tile as this can cause the blade to chip or break the tile.
Lastly, be sure to wear appropriate safety gear, including eye protection and gloves, when using an angle grinder.
However, if you are not familiar with using this type of tool, it is best to hire a professional contractor who has experience with using an angle grinder on a tile.
Conclusion
If you’re looking to add a touch of elegance to your home, cutting angles on ceramic tile is a great way to do it. But if you’ve never done it before, the process can seem daunting.

I’m John Carry, also known as a woodworker I have been a professional saw expert for over 10 years. I’d work with every type of saw machine out there, and experiment to find which tools work better.
I’m always looking for ways to improve my skills and help those around me. I love my job and am always happy to share my knowledge with others.